How Grout Cleaning Can Instantly Refresh Your Kitchen or Bathroom

Discover the Transformative Effect of Clean Grout
Grout is often overlooked in the maintenance of kitchen and bathroom tiles, yet it plays a crucial role in both the appearance and hygiene of these spaces. Over time, grout lines absorb dirt, stains, mold, and bacteria, which dulls tile surfaces and creates potential health hazards. Understanding how grout cleaning can instantly refresh your kitchen or bathroom will empower you to restore these areas to their bright, inviting condition, whether through professional services or effective DIY methods.
Why Clean Grout Is Key for a Vibrant and Healthy Home Environment
What are the benefits of grout cleaning for improving the appearance and hygiene of kitchen and bathroom surfaces?
Professional grout cleaning provides an immediate aesthetic boost by restoring the bright, polished look of tiles. Grout, being highly porous, tends to absorb dirt, grease, food splatters, and bacteria over time. This buildup can lead to discoloration and a dull, dingy appearance. Deep cleaning removes embedded stains and grime, making surfaces look fresh and well-maintained.
Beyond appearance, grout cleaning plays a vital role in enhancing hygiene. Mold, mildew, and bacteria often thrive in damp, porous grout lines, posing health risks. Regular professional cleaning eliminates these germs, reducing mold growth and allergen presence. This not only makes your space cleaner but also healthier for everyone.
Maintaining clean grout also helps avoid the deterioration of tiles and grout lines. Dirt and moisture can cause porous materials to weaken and break down prematurely. Routine cleaning and sealing extend the lifespan of your tiles and grout, preventing costly repairs and replacements later on.
In summary, grout cleaning revitalizes your home's surfaces, improves sanitation by removing harmful microorganisms, and preserves the durability of your tiled areas. It’s a simple step that offers substantial benefits for both visual appeal and long-term health.
Pro Techniques to Restore Tile Grout to Its Original Shine

What are effective techniques and methods for cleaning and restoring tile grout in kitchens and bathrooms?
Restoring tile grout's bright, polished look involves several professional techniques that go beyond basic cleaning. A highly effective method is using a special homemade paste made from baking soda, hydrogen peroxide, and dish soap. This mixture is applied directly to the grout lines with a small brush or squeeze bottle, left to sit for about 15 minutes, and then scrubbed gently with a soft brush. This process lifts dirt, grease, and stains without damaging the porous grout material.
For routine maintenance and lighter stains, steam cleaners equipped with grout attachments are invaluable. These devices use hot steam to loosen grime and kill bacteria, mold, and mildew without the need for harsh chemicals.
When dealing with stubborn stains, commercial-grade cleaning products like Grout-EEZ or the Pink Stuff are recommended. Grout-EEZ offers powerful dirt and stain removal, especially on ceramic and porcelain tiles, but should be used with safety precautions due to its strong chemicals. The Pink Stuff, an affordable cleaning paste, effectively removes dirt and grease with minimal effort.
For minor cosmetic issues, a grout pen is a quick fix to cover discolorations; however, it does not clean the grout but can be useful in touch-ups.
To prevent future stains and protect your grout, applying a penetrating sealant every 1 to 2 years is advisable. Sealants help keep out moisture, mold, and dirt, prolonging the fresh and clean appearance of tiled surfaces.
Regular professional cleaning combined with preventive sealing is essential to maintain the durability and hygiene of kitchen and bathroom grout, ensuring your tiled areas look pristine and remain structurally sound.
Step-by-Step DIY Grout Cleaning: Simple Recipes and Methods

What are some DIY grout cleaning tips, recipes, and step-by-step instructions?
Cleaning grout yourself can be both budget-friendly and effective if you use the right recipes and techniques. A popular natural cleaner involves mixing ¾ cup of baking soda with ¼ cup of hydrogen peroxide to create a paste. This mixture is applied directly onto the grout lines using a small brush or an old toothbrush. After application, let it sit for about 15 minutes to loosen embedded dirt and stains.
For a gentler approach, combine warm water with baking soda and add a few drops of dish soap to create a mild cleaning solution. Spray vinegar along the grout lines before applying this mixture, as vinegar's mild acidity helps break down grime. Scrub gently with a soft brush to avoid damaging the grout.
After scrubbing, rinse thoroughly with clean water and wipe dry with a microfiber cloth. Always remember safety precautions: wear gloves and goggles, ensure good ventilation, and avoid mixing bleach with ammonia or other cleaners to prevent toxic fumes.
This straightforward DIY method helps brighten your grout, remove dirt, and restore the tiles' appearance without harsh chemicals, making it suitable for frequent maintenance.
Application and scrubbing instructions
Apply the prepared cleaner directly onto the grout lines using a squeeze bottle or brush. Use a stiff-bristled brush or an old toothbrush to scrub the grout gently—vigorous scrubbing can damage the grout or scratch the tiles.
Let the cleaner sit for about 10-15 minutes for best results, especially when dealing with stains or mold.
Rinse the area well with clean water to remove loosened dirt and residues.
Finally, dry the tiles with a microfiber cloth to prevent water spots and further grime buildup.
Precautions to prevent grout damage
To keep your grout in top shape, avoid abrasive tools like steel wool or metal brushes that can scratch tiles or degrade grout lines.
Never use harsh chemical cleaners such as bleach alone in excess or products like Comet or Oxiclean that are too abrasive for grout.
Manage the pH level of your cleaning solutions; overly acidic or alkaline products can weaken grout seals over time.
Regular gentle cleaning, combined with proper sealing after cleaning, helps extend the lifespan of your grout and tiles, keeping your kitchen or bathroom looking fresh and clean.
Essential Tools and Products for Effective Grout Cleaning
Which tools and products are recommended for effective grout cleaning?
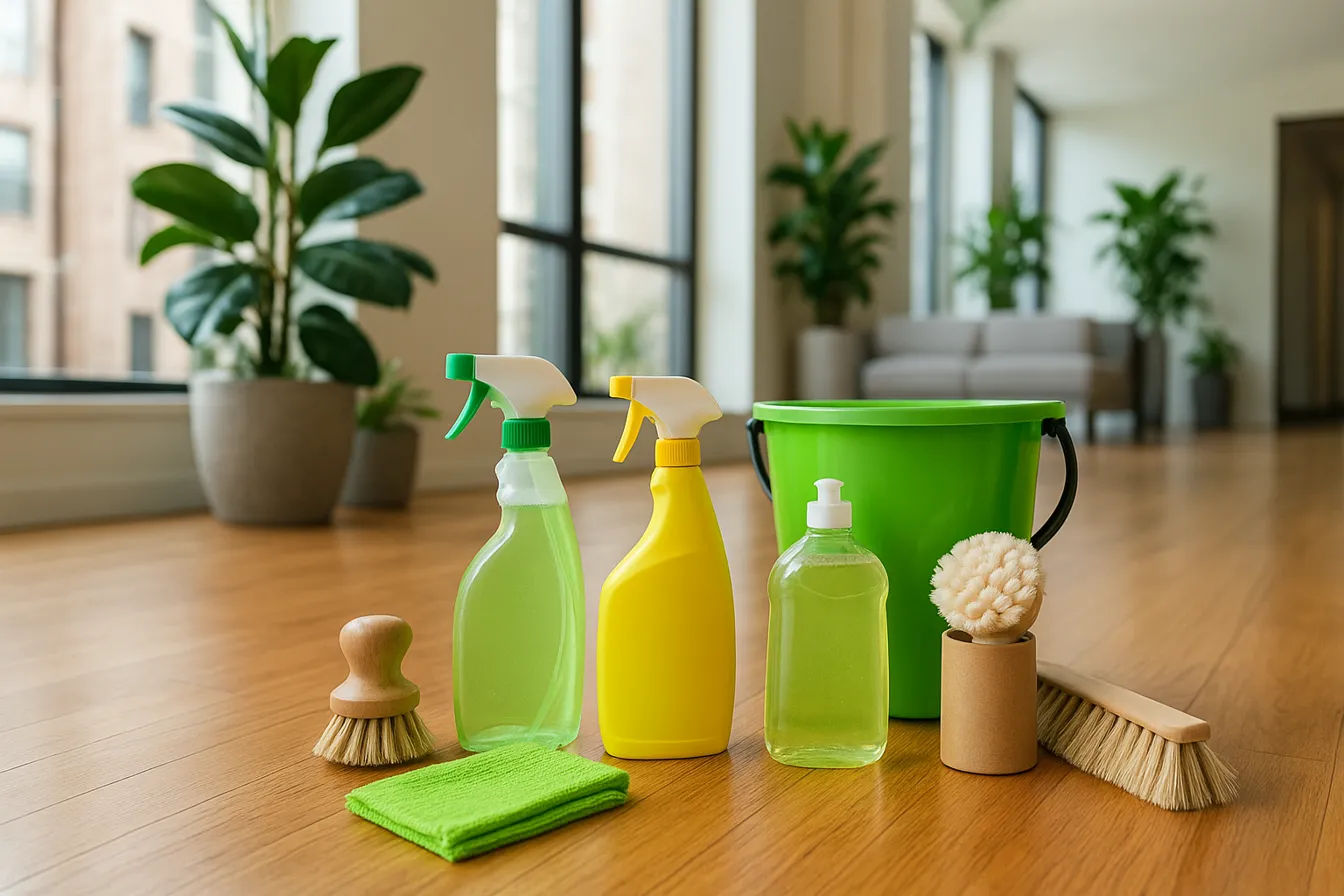
Effective grout cleaning often involves the right combination of tools and cleaning products. For manual scrubbing, a stiff-bristled brush or an old toothbrush is ideal for reaching into grout lines and removing embedded dirt. These brushes are gentle enough not to damage the grout but strong enough to loosen grime.
In terms of cleaning solutions, many commercial products are formulated to target specific stains or general grime. For regular maintenance, products like Mrs. Meyer’s Clean Day Tub and Tile Cleaner work well to keep grout bright and clean. For more stubborn stains, Stardrops The Pink Stuff offers excellent value and effective cleaning power.
For deep cleaning or heavily stained grout, dedicated grout cleaners such as ZEP Grout Cleaner and Brightener utilize hydrochloric acid to dissolve mineral deposits, mold, and mildew. Spray cleaners like Scrubbing Bubbles Grime Fighter can also simplify the process by breaking down soap scum and grease. Maintenance aids, such as Wet & Forget Shower, help keep grout clean between deep cleans.
Benefits of steam cleaners and grout pens
Steam cleaners are a chemical-free option that use high-temperature steam to loosen dirt, kill mold, and sanitize grout lines. They are particularly useful for homes with small children or pets, providing an eco-friendly, effective solution for routine cleaning.
Grout pens are affordable, low-mess tools designed to color over stained or discolored grout. While they do not remove dirt, they are excellent for quickly concealing stains and giving grout a fresh look. They are best used for small, stubborn stains after regular cleaning or as a quick cosmetic fix.
Employing the right tools and products makes grout cleaning more efficient, prolongs the life of your tiles, and keeps your surfaces hygienic and attractive.
Instant Aesthetic Lift: How Grout Cleaning Transforms Your Space
How can grout cleaning instantly refresh the look of kitchen and bathroom spaces?
Grout cleaning offers an immediate transformation for kitchens and bathrooms by effectively removing dirt, stains, and mold that dull the appearance of tiled surfaces. Over time, grout becomes porous, absorbing grime, grease, and moisture which can lead to discoloration and a worn-out appearance.
When professional cleaning techniques are used, they deeply penetrate the porous grout to lift away embedded stains and grime. This restores the original, vibrant color of the grout lines, making the tiles look bright, polished, and well-maintained. The difference is often noticeable right after the process, with tiles looking cleaner and more appealing.
In addition to visual improvements, clean grout helps eliminate musty odors caused by mold and mildew, contributing to a fresher room ambiance. The quick refresh not only elevates the aesthetics but also enhances hygiene, creating a more inviting and healthier environment.
Using professional tools ensures thorough cleaning that DIY methods usually can’t achieve. This results in a revitalized space that looks newer and more cheerful without the need for costly renovations or replacement of tiles. Overall, grout cleaning is a simple yet powerful way to instantly uplift the look of your kitchen and bathroom surfaces.
Effective Strategies for Cleaning Blackened and Stubborn Grout Stains

How can grout be cleaned effectively when it has turned black?
When grout has become blackened, it can be quite a challenge to restore its original appearance. The first step involves choosing the right tools and cleaning products. Using a white, nylon-bristled brush ensures gentle yet effective scrubbing without damaging the grout lines.
Specialized cleaners like Grout-Eez or Black Diamond are designed to tackle stubborn stains and often have stronger formulas to break down dirt, grime, and other buildup. It's important to follow the application instructions carefully to avoid any unintended damage.
For more ingrained stains or efflorescence—white, salt-like deposits caused by mineral salts from hard water—a more targeted approach is beneficial. Sulfamic acid crystals can be dissolved in water to create a cleaning solution that effectively dissolves these deposits. Alternatively, a mixture of hydrogen peroxide and baking soda creates a mild but powerful paste that brightens the grout.
Once you have applied the cleaner, scrub the grout thoroughly with the brush, focusing on the darker areas. Rinse the entire area with cool, clean water to wash away loosened dirt and chemical residues.
To maintain the black appearance and prevent future discoloration, applying a penetrating sealer such as 511 or Sealer’s Choice is recommended. These sealers prevent dirt, oils, and moisture from penetrating deep into the porous material, helping your grout stay looking fresh longer.
It's advisable to avoid harsh chemicals like bleach, which can weaken the grout and strip away protective sealers. Instead, regular maintenance with mild soap and water or gentle cleaners will help keep the grout looking its best. With consistent care, even stubborn blackened grout can be revitalized and preserved.
| Cleaning Technique | Suitable for | Effectiveness | Additional Tips |
|---|---|---|---|
| Use nylon-bristled brush | Regular cleaning, stain removal | Gentle yet effective | Avoid scratching the grout |
| Specialized grout cleaners | Heavy stains, efflorescence | Highly effective | Follow instructions carefully |
| Sulfamic acid solution | Efflorescence, mineral deposits | Deep cleaning | Wear gloves and eye protection |
| Hydrogen peroxide & baking soda | Mild brightening | Safe and natural | Rinse thoroughly afterward |
| Sealant application | Preventing future stains | Long-lasting | Reapply as needed |
By combining proper cleaning methods with preventive sealing, you can restore and maintain the appearance of your grout, keeping your tiled surfaces looking clean and fresh.
Regrouting Basics: Repair and Renewal Without Complete Removal
Is it possible to regrout tile without removing old grout, and how?
Yes, regrouting without completely removing old grout is feasible and often practical for small repairs or refreshes. The process begins with a thorough cleaning of the existing grout to eliminate dirt, mold, or residues that could interfere with adhesion.
Next, any loose or damaged portions of grout should be carefully removed using a grout saw or a similar small tool, typically to a depth of about ¼ inch. This step ensures that the new grout will bond properly with the existing materials.
Once the old, loose grout is cleared, the next step involves applying new grout directly over the cleaned areas. Using a rubber float held at an angle, press the grout into the joints, making sure to fill all gaps completely. After the application, excess grout on the tile surface is wiped off with a damp sponge, leaving a smooth, even finish.
Allow the newly grouted area to cure fully according to the manufacturer’s instructions before walking on it or exposing it to moisture.
While this method is suitable for minor repairs, it’s important to note that heavily stained or severely damaged old grout should ideally be removed entirely for the best long-term results. Proper preparation and careful application can significantly improve the appearance and durability of tiled surfaces without the need for complete regrouting.
Tools needed and step-by-step method
| Tool | Purpose | Additional Details |
|---|---|---|
| Grout saw or oscillating tool | Remove loose or damaged grout | Use gently to avoid damage to tiles |
| Rubber float | Apply new grout | Maintain at an angle for even distribution |
| Damp sponge | Clean excess grout | Rinse frequently to avoid smearing |
| Clean cloth | Final touch-up | For polishing dried grout |
Follow these steps to efficiently regrout areas needing repair without the hassle of full removal. Proper technique ensures a neat result and extends the life of your tiled surface.
Pros and cons of regrouting without full removal
| Advantages | Disadvantages | Notes |
|---|---|---|
| Time-efficient | May not address deep stains or severe damage | Best for minor fixes |
| Cost-effective | Might not last as long as complete regrouting | Suitable for routine maintenance |
| Less messy | Possible uneven appearance if not done carefully | Requires proper cleaning beforehand |
| Quick restoration of appearance | Not appropriate for heavily compromised grout | Regular touch-ups can help maintain the look |
Routine Maintenance and Renewal Ideas to Keep Grout Looking New

What are basic maintenance and grout renewal ideas to keep tile surfaces looking clean and new?
To maintain the fresh appearance of tile floors and walls, implementing a regular cleaning routine is essential. Sweeping or vacuuming the area removes dust, dirt, and debris that can settle into grout lines. Wiping up spills promptly prevents stains from setting into porous grout materials.
Deep cleaning with specialized tools, such as grout-specific brushes and commercial-grade cleaners like Imperia Deep Clean, can effectively eliminate embedded grime, mold, and mildew that regular cleaning may miss. Using steam cleaners also offers a chemical-free way to sanitize grout, especially in households with children or pets.
Applying a protective sealer after cleaning is a crucial step. An annual application of a grout sealer, such as a clear liquid sealer, helps create a barrier against moisture, stains, and dirt penetration, prolonging the tile's pristine look. For areas prone to damage or heavy use, repairing cracked or damaged grout with adhesive like Sentura before resealing restores structural integrity.
When it comes to cosmetic improvement, renewing grout with products like epoxy grout paint—such as Caponi—can visibly refresh the color and appearance of existing grout lines. These paints are often applied with small brushes to ensure precise coverage and can help seal the grout against future stains, mold, and mildew.
To keep tiles in top condition, avoid using abrasive cleaning tools like steel wool or harsh chemical cleaners such as bleach or Comet, which can degrade grout and tile surfaces. Routine professional cleanings every year or so can help maintain hygiene and appearance.
In essence, combining regular cleaning, timely repairs, proper sealing, and occasional renewal treatments will help keep your tile and grout looking new and extend their lifespan, ensuring a clean, hygienic, and attractive space.
Transform Your Kitchen or Bathroom with Simple Grout Care
Regular and effective grout cleaning is a powerful, often underestimated way to instantly refresh your kitchen or bathroom. Whether you choose DIY recipes, invest in quality cleaning tools, or hire professionals, maintaining clean grout enhances both the beauty and hygiene of your tiled spaces. This care not only revitalizes tile appearance but also protects your investment by preventing damage and prolonging tile life. With routine upkeep and occasional renewal treatments, your kitchen and bathroom can maintain a bright, welcoming atmosphere that reflects your pride in your home’s cleanliness and style.
References
- How Professional Grout Cleaning Can Instantly Refresh Your Kitchen
- How To Clean Grout: 7 Efficient Ways To Renew Old Grout As New
- Restore Dirty Tile Grout – Easy Cleaning & Whitening Techniques
- I Tried the Viral DIY Grout Cleaner—Here's What Happened
- How to Clean Bathroom Tile and Grout | Reviews by Wirecutter
- How to Clean Grout—We Tested 5 of the Best Methods
- How to Clean Grout in your Bathroom the Easy Way | DIY Playbook


